Inside a PG-40 ink cartridge - easily refillable?
We recently got a new multifunction printer - the ones with the built in scanner which can do photocopies. It is a Canon MP150 - its a really good printer and does great copies, but it seems to use up ink pretty quickly. There doesn't seem to be any 3rd party cheap alternative replacement cartridges available for it though.
With our previous printer (also a Canon) you could just squirt some replacement ink into the cartridge where it would mate with the print head inside the cartridge tray in the printer. But because the cartridges for the MP150 have the print head integrated, they cant be refilled as simply, and they are more expensive too!
So it was time to look inside and see what was possible!
Ok so here we go - one empty PG-40 cartridge just so we all know what we are looking at:
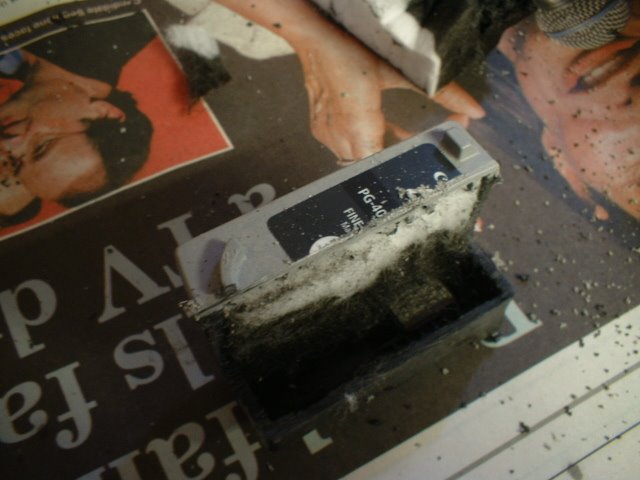
As you can kind of see in the second picture above, there is a foam filled void taking up most of the cartridge with no internal compartments or bracing. The lighter grey rectangle is a small patch covering the wells down to the print head. Based on this it would seem like it would be possible to refil this cartridge by simply drilling a hole anywhere on the top and sticking the ink in through there.
However, upon closer inspection of the top light-grey coloured lid I discovered what appears to be a small vent, or perhaps the original filling hole. Unfortuneately I cut right through it but you can see quite clearly where it was on the picture below:
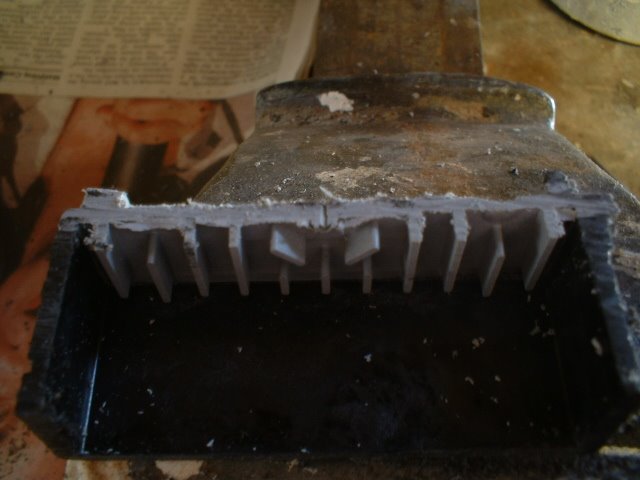
As it turns out, this hole is directly above the "a" of "cartridge" on the label so its easy to find. Its a pretty narrow hole, perhaps less than 0.5mm so unless you have a hyperdermic needly it might be awkward to refil using this hole. However, it would make a good pilot hole if you are planning to drill into the cartridge - an alternative place to drill would be on the small "dimple" visble towards the right of the above image.
One word of warning though - if you are drilling beware of swarf. I got a lot of it when cutting this thing open so there will be some when drilling, which may eventually work its way down through the foam to the print head.
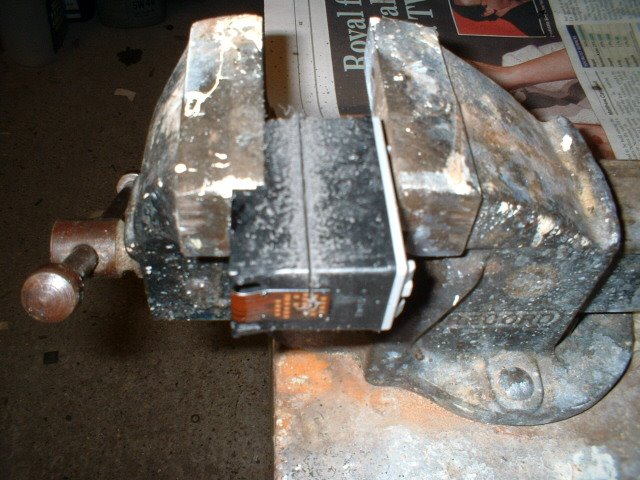
As an alternative to drilling, you could try removing the top of the cartridge altogether. This seems to be fairly firmly glued down, but I think I've found a simple trick to pop the lid off if you have a vice or a g-clamp handy. There is a "lip" on the lid of the cartridge, try and get that between the jaws of a vice and then very gently tighten. When I tried this on half of the shell, it popped right off no problems - have a look at the video below for an example:
I haven't tried it with an intact cartridge but I suspect something similar will happen. Have fun!
Update: I have now tried it with a real cartridge and with good results!
No comments:
Post a Comment